Installation
Step 1: Install the Plugin
Although it is a commercial plugin, you can download and test the plugin in your local environment before purchasing it.
Composer
The recommended way to install the plugin is via Composer. To install the plugin, run the following command in your terminal:
composer require johannschopplich/kirby-copilot
Download
Head over to the releases page and download the latest version of the plugin as a ZIP file. Extract the contents of this ZIP file to your site/plugins folder. It should look like this:
site/plugins/
├─ kirby-copilot/
│  └─ … All plugin files
Step 2: AI Provider Configuration
Configure the AI provider by setting the API key and AI model in the global Kirby configuration. Each provider has its own configuration key. To get started with OpenAI, create a new OpenAI API key and add it to the configuration along with the AI model such as o3-mini:
return [
    'johannschopplich.copilot' => [
        'providers' => [
            'openai' => [
                'model' => 'o3-mini',
                'apiKey' => 'YOUR_API_KEY'
            ]
        ]
    ]
];
Step 3: Usage
Writer & Textarea Toolbar Button
Kirby Copilot provides a dedicated button for the Kirby writer and textarea fields. Open the prompt dialog with the keyboard shortcuts Cmd + . (macOS) or Ctrl + . (Windows/Linux) or by clicking the Copilot button in the toolbar. The selected text (if any) will be appended to the user prompt before sending it to the AI model.
To enable the button, add the copilot button to the toolbar configuration:
fields:
  # For writer fields
  text01:
    label: Text
    type: writer
    marks:
      - copilot

  # For textarea fields
  text02:
    label: Text
    type: textarea
    buttons:
      - copilot
Section Blueprint
To display the Copilot section in the Kirby Panel, add a section of type copilot to your blueprint:
sections:
  copilot:
    type: copilot
    field: blocks
The only required section property is field. This is the target field of the Kirby model that will be used to write the generated text to.
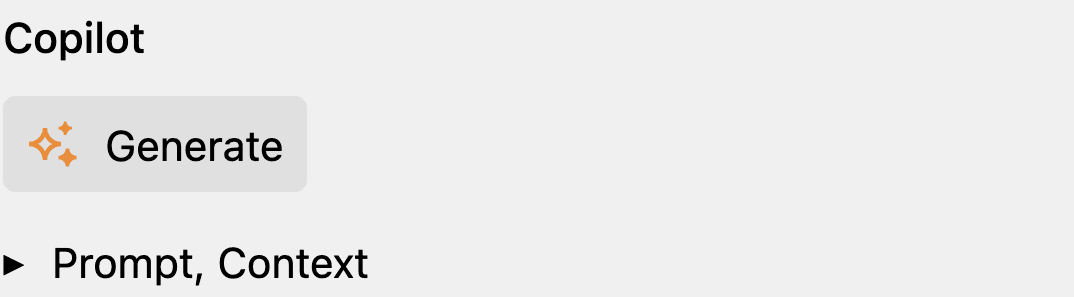
After adding the section, you can start using the plugin in the Kirby Panel. The accordion will be closed by default:
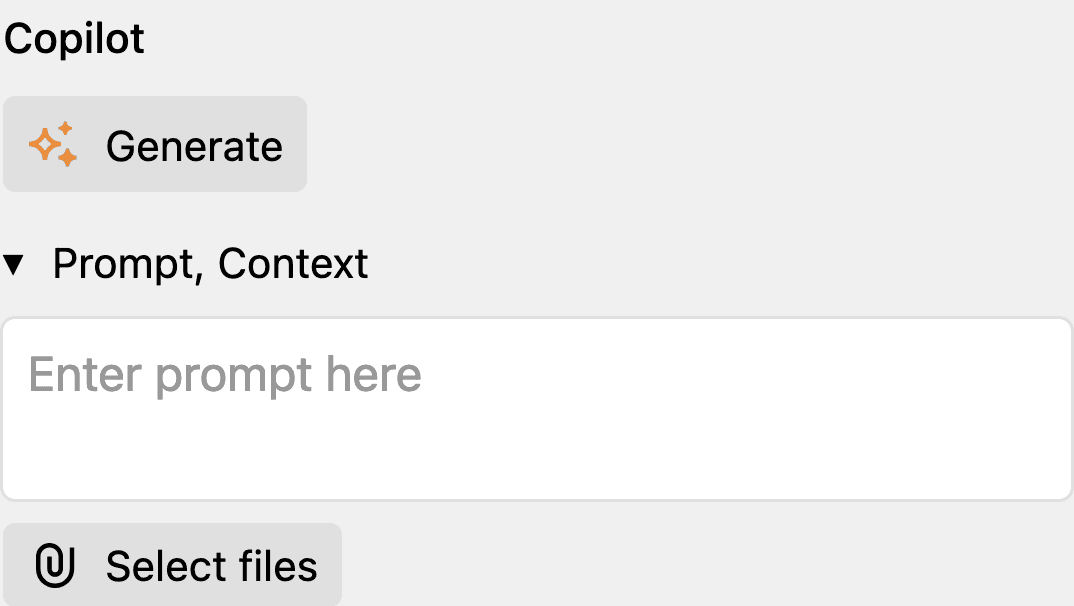
Click on the arrow to open the accordion and start entering your prompt:
Step 4: Buy a License
You can test the plugin locally. However, you need to purchase a license to use the plugin in production environments.
Visit the product page on Lemon Squeezy and purchase a license. Then, open any Panel page that contains the SEO Audit section. Click the Activate link to open the activation form:

Enter the email you used for the purchase and the order number and hit the submit button. Done! Thanks for supporting our work. Once you activate your license, the license activation buttons will disappear.
/site/config/.kirby-tools-licenses file. Make sure to add this file to your .gitignore file to keep your license key private.